Wondering how a rifle scope works? Here is a targeted itinerary for knowing operation and components of riflescopes, it will be useful to you not to underestimate details of your riflescope or for distinguishing a good quality model.
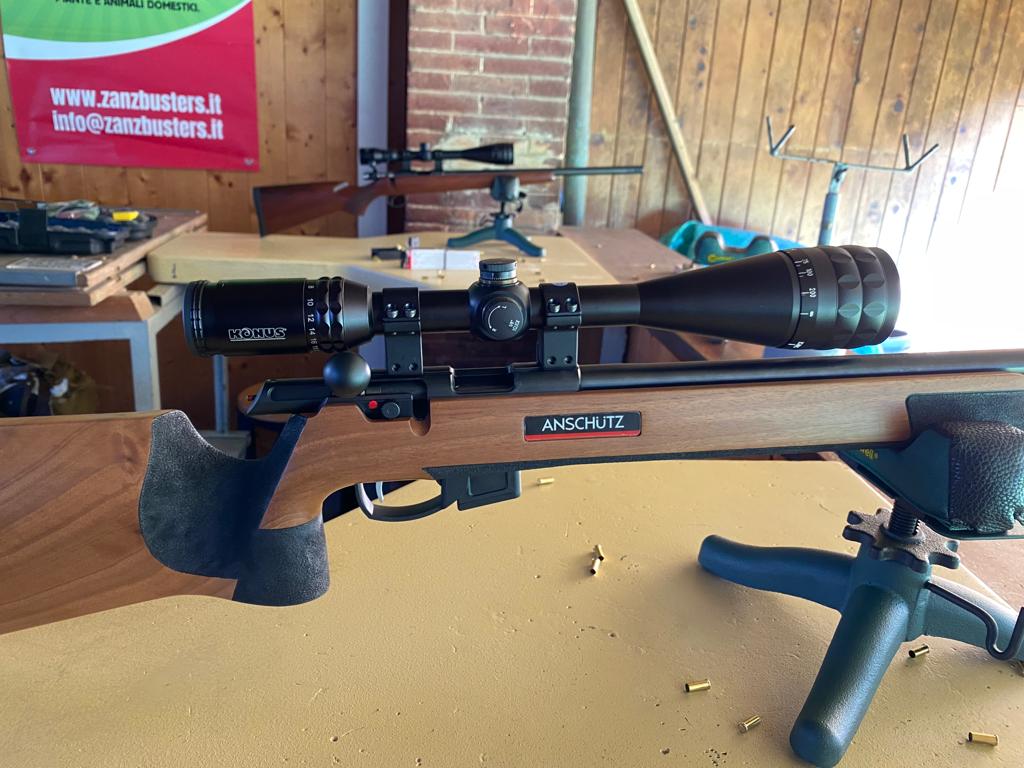
PARTS OF RIFLESCOPE
As you may know our company was born in 1979 when we didn’t deal with riflescopes; we have indeed begun with the production of telescopes which you will discover to be instruments very similar in construction to riflescopes and it is precisely with those that we “made our bones” . The main parts that make up optical telescope and riflescope are the same, i.e:
- the eyepiece: is the lens where the eye is placed
- the objective: is the front lens
- between these two lenses there is an optical unit which has the function of zoom and straighten the image, this system is called erector.
So the objective captures the light and converts it into a point which is called the “first focal plane”, after which the light begins to diverge. The erector flip the image because otherwise it would be up side down.
The distance between the two lenses that form the erector determines the magnification of the riflescope. The light now exits the erector and converges again on a “second focal plane” reaching the eye of the shooter perfectly straight and magnified.

TERMS TO LEARN
– Magnification: it is the first number that expresses a riflescope (for example 4×32) and it indicates the relationship between the focal length of the eyepiece and the focal length of the objective, it gives the linear magnification of the riflescope. If I buy a riflescope with 4x magnification, it means that the target will appear as if it were 4 times closer to us. If I opt for a very high magnification, I will have to consider that there may be more image shaking and a lower brightness therefore always choose the maximum magnification that is strictly necessary for you. With low or medium magnifications you will have a sharper image and a wider field of view. As a rule, large magnifications are chosen for shooting at stationary targets or on a shooting range while for wooded environments, moving targets and low-medium range shooting you choose an optics with reduced magnifications.
– Field of view: indicates the width of the image that is framed at a given distance, usually indicated in meters and it refers to the distance to 100 meters, there are those who prefer to express it with the angular value. As magnification increases, the field of view decreases.
– Objective diameter: it is the diameter of the front lens, how greater is the objective and greater will be the light that enters in the tool. It is the number that in the measure of the riflescope it is at the end that is to say in a 4×32 model, the diameter of the objective is 32 mm.
– Exit pupil: measures the amount of light reaching the eye. Corresponds to the diameter of the objective divided by the magnification factor. Consider that the human eye has an iris with a diameter of 7 mm when fully dilated (it decreases with age), so if the exit pupil value is larger than the pupil of the eye, the extra light will not be perceived, while if the exit pupil value is lower than that of the iris, the image will be dimly lit. If we consider an observation in broad daylight when the iris is contracted, an exit pupil of about 3 or 4 mm will be enough for having a clear image. If instead it is evening, it will be better to use instruments with larger exit pupil because the human pupil will dilate to get more light.
– Focal distance: it is the distance where the eye is positioned to obtain an image without vignetting. The focal distance is usually included between 25 and 100mm.
We advise not to stay less 6-7 cm to avoid to get hurt due to weapon recoil..